- Diet formulation for feedlot and pasture, including concentrates, protein supplements, mineral salt, etc.;
- Calculation of nutritional requirements for beef and dairy cattle in temperate and tropical climates;
- Formulation calculations based on dietary and nutritional restrictions;
- Feed for profit (lowest cost per weight gain) for beef cattle;
- Feed for cost (lowest cost per kg of feed) for beef and dairy cattle;
- Calculation of shadow price of ingredients (inclusion and exclusion price analysis);
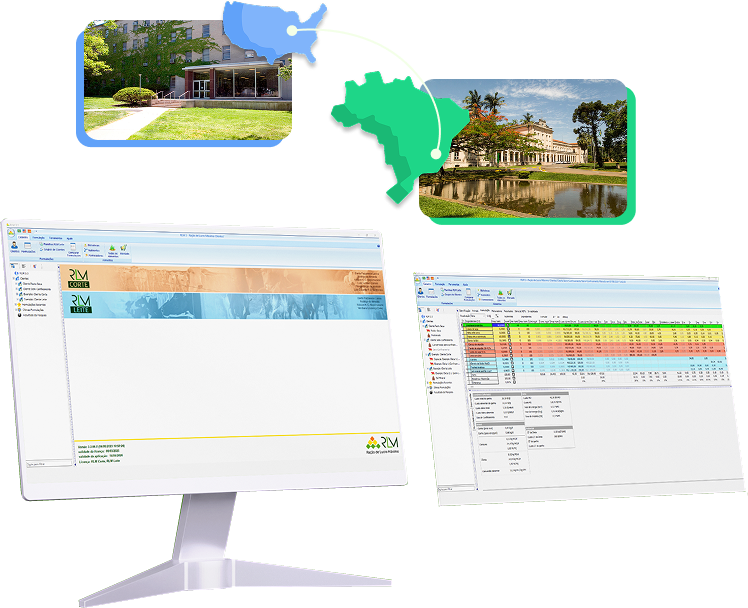
- The RLM was created by Dr. Dante Pazzanese Lanna and developed by research groups at Cornell University in the United States, and later at ESALQ/USP and UFPR with Professor Rodrigo de Almeida.
- The program calculates nutritional requirements based on equations from the Cornell System, the Californian Net Energy System, the AFRC, and the CSIRO, adapted to tropical climates.
- The system is continuously updated with the latest experimental data conducted by research institutes and universities around the world.
- The RLM received the Santander Innovation and Entrepreneurship Award. Its innovative mathematical model calculates the optimal solution using nonlinear optimization. This allows finding the feed for maximum profit and the optimal performance level.
- The RLM also innovated by incorporating an environmental model that calculates methane production and CO2 equivalent emissions, enabling the measurement of environmental impact reductions through more efficient diets.
Computer Application

Questions
-
Requirements for RLM Installation
Minimum Requirements for RLM Installation
To use RLM, it is recommended to have a computer with the following minimum configuration:
PC (Desktop or Laptop)
Intel or AMD processor, less than 5 years old.
RAM: 1 GB.
HDD or SSD with 2 GB of free space.
Screen resolution: XGA (1024 x 768 pixels) with 16-bit color depth.Windows Operating System
Windows 32-bit or 64-bit OS, starting from Windows 7.
Other Operating Systems
RLM can be installed on other operating systems, such as Mac OS and Linux, through a PC virtual machine with Windows installed.
Examples of emulators: Oracle VirtualBox and Parallels.
-
How to Install RLM 3 (New Users)?
After downloading the installer, click on it and follow the installation instructions:
On the first screen, simply click the Next button to proceed.
Next, you will need to enter your name and the institution where you work or study.
The serial number for installation is mandatory and must be requested from support, even for demonstration purposes.
After filling in the details, click the Next button to proceed.
Next, you will be asked to choose the installation folder. It is recommended to leave it as the default folder.
Click the Next button to continue.
Next, you will be asked to select the database folder.
Attention: All the data you register will be stored in this folder. Remember to back up this folder periodically!
Click the Next button to continue.
Next, you can choose between a standard or custom installation. We recommend the standard installation.
Click the Next button to continue.
This screen displays an installation summary.
Click the Install button to confirm the installation.
Wait for the installation process to complete.
When you see this window, the program core will be installed.
Click the Finish button to complete this stage of the installation.
Next, the Macromedia Shockwave and Flash plugins will be installed. Click the Next button to continue:

After completing the plugin installation, click the Finish button:

-
How to Convert My Data from RLM 3.0 to RLM 3.1?
RLM 3.1 offers many new features compared to previous versions. For this reason, its data structure is different. To use your RLM 3.0 data in RLM 3.1, data conversion is required. This process happens automatically when installing RLM 3.1 on a computer where RLM 3.0 was previously uninstalled. However, in cases where it is necessary to restore an RLM 3.0 backup in RLM 3.1 or if the computer where RLM 3.1 will be installed is different from the one that had RLM 3.0, this topic explains how to proceed.
Attention: Read carefully and follow the procedures step by step.
Requirements
To convert data from RLM 3.0 to RLM 3.1, you need:
To have a backup of RLM 3.0 data
To have RLM 3.1 installed on the computer1 - Prepare the Files
Open the folder
DB. The installation folder varies depending on the Windows version and language and may also have been installed in a user-defined folder. Examples of possible locations:
C:Program FilesIntegra SoftwareRLM 3DB
D:Program FilesIntegra SoftwareRLM 3DB
In this folder, you should find several files, including RLM.GDB and Rlm31Limpo.gdb:
a) Rename the file RLM.GDB to any other name.
b) Copy the file RLM31Limpo.gdb to the same folder, renaming it to RLM.GDB.
c) Copy the backup file from RLM 3.0 to the same folder, renaming it to RLM30_origem.gdb.
2 - Convert the Data
a) Move up one folder level, from
DB to . Then open the Bin folder. The resulting folder will be Bin, as shown in the image below: 
b) Double-click the ConvRLM31.exe application. The following window will appear:
c) Fill in the Source Database field with the RLM30_origem.GDB file from the
DB folder. Use the folder icon to the right of the field to open an Explorer window to help select the file. d) Fill in the Destination Database field with the RLM.GDB file from the
DB folder, following the same method as for the previous field. Remember: the RLM.GDB file must be a copy of the RLM31Limpo.GDB file, which was renamed as explained in Step 1. e) Enable the Generate Log option.
f) Click the Convert button.
The data conversion process will begin. The Convert button will be disabled.
Depending on the volume of data being converted and the computers processing power, this process may take some time. Please wait until it is completed.
Once completed, the Convert button will be enabled again. Do not click it again!
If an error occurs during the conversion process, select and copy the text from the Log box and send it to Technical Support.
Click the Exit button to close the program.
Done! If everything went well, your data should have been successfully converted, and RLM 3.1 will be ready to use.
-
How to Protect My Data in RLM 3?
RLM 3.1 does not come with a built-in backup mechanism, so users must manually create backup copies of their data. Below is how to create a backup.
1 - Ensure that the RLM 3.1 program is closed
The data file should only be copied when it is not in use.
2 - Copy the database file to a safe location
All user information, such as clients, diets, foods, and nutrients, is stored in a single database file. The file to be copied is RLM.GDB. This file is located in the database folder.
The database folder varies depending on the Windows version and language, installation options, and RLM version. Locate the file using the following order:
RLM 3DB
Integra SoftwareRLM 3DB
C:Program FilesIntegra SoftwareRLM 3DB
C:Users[User Name]AppDataRoamingIntegra SoftwareRLM 3DB
A safe location could be another disk, a dedicated backup drive, a CD-RW, or a USB flash drive.Attention: Check if the files modification date and time match the last time the program was used.
-
How to Restore My RLM 3 Data on Another Computer?
This procedure is for data restoration when both the source and destination data are from RLM 3.1. If the source is RLM 3.0 and the destination is RLM 3.1, data conversion will be necessary.
By replacing a single file, you can transfer all your RLM 3.1 data from one computer to another or recover lost data. Follow the steps below:
1 - Obtain the Source Data
First, you need to have the source data, which can be obtained from a backup. The file to be used is RLM.GDB.
2 - Replace the File on the Destination Computer
Copy the RLM.GDB file from the backup to the database folder, replacing the previous version.
The database folder varies depending on the Windows version and language, installation options, and the RLM version. Locate the folder using the following order:
RLM 3DB
Integra SoftwareRLM 3DB
C:Program FilesIntegra SoftwareRLM 3DB
Complete, Intuitive, and Award-Winning
 SANTANDER ENTREPRENEURSHIP AWARD
 SANTANDER SCIENCE AND INNOVATION AWARD
 Developed at the Superior School of Agriculture Luiz de Queiroz ESALQ, USP
Contact
2025 RLM - Ração de Lucro Máximo - All rights reserved.
RLM Pesquisa em Otimização Agropecuária e Ambiental Ltda
CNPJ: 38.386.796/0001-35
by index soluções
